

How often have you encountered the scenario where you search something and suddenly everywhere you go, you start seeing ads for it. Or, when you try to read a news article and you can barely read anything with all the ads showing up.

Although you might use apps like Firefox or extensions such as Adblock, they must be installed on every device, which is often impractical.
I faced a similar issue because my family, like many others, isn’t tech-savvy. I needed a solution that could be implemented to shield them from ads and malware without requiring any changes on their part.
Enter, AdGuardHome
https://github.com/AdguardTeam/AdGuardHome is a wonderful thing. I have found it extremely easy to Install, Manage and Configure.
In, this blog I would cover how you can also Install AdGuard.
Installation
Head over to https://github.com/AdguardTeam/AdGuardHome?tab=readme-ov-file#automated-install-linux-and-mac and would notice the installation of AdGuard is a simple as running a command.
To install with curl run the following command:
curl -s -S -L https://raw.githubusercontent.com/AdguardTeam/AdGuardHome/master/scripts/install.sh | sh -s -- -vTo install with wget run the following command:
wget --no-verbose -O - https://raw.githubusercontent.com/AdguardTeam/AdGuardHome/master/scripts/install.sh | sh -s -- -vThis will install the AdGuard Service which would acts as your own DNS Server.
What is DNS?
DNS stands for Domain Name System, In very simple terms: You see it is like the internet’s phone book, every website you visit actually has something known as IP Address, eg., 66.11.184.216, which as you can imagine is very hard to remember, so you add an entry into the phone-book which says when you look for example.com , It makes a call to 66.11.184.216.
DNS is essential because it allows us to use friendly names instead of numbers.
Setting up AdGuard Home
After installation, a web interface should start on port 3000, allowing you to configure AdGuard. Just open the URL http://localhost:3000 to set it up.
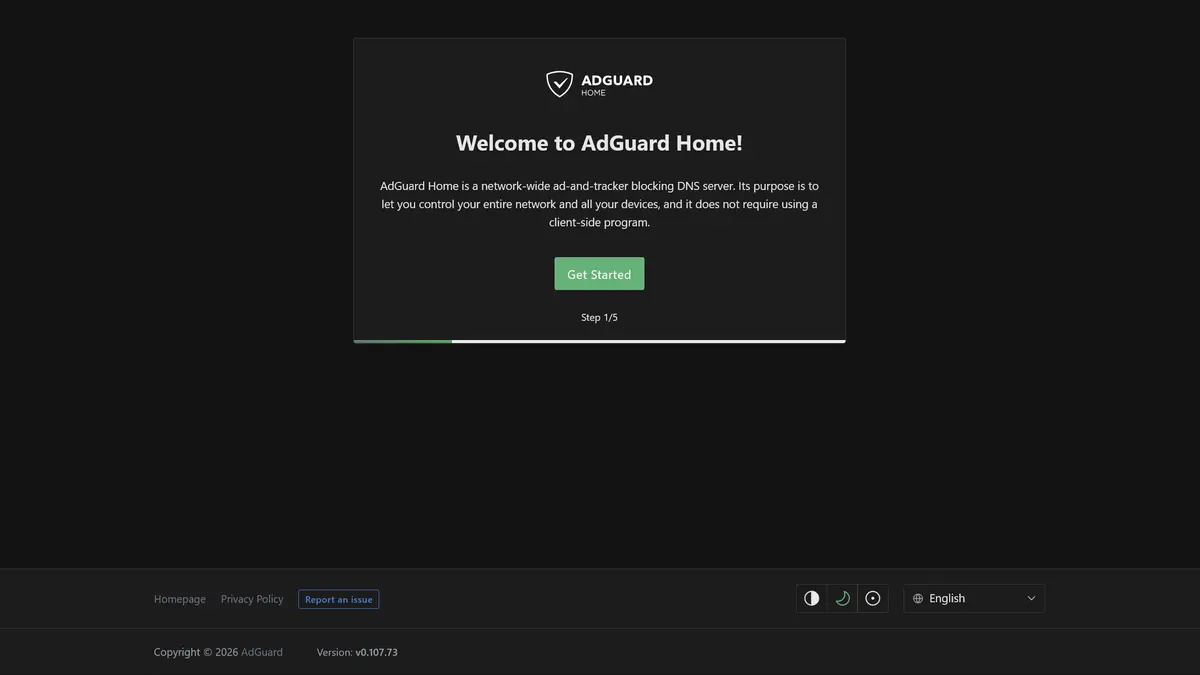
Step 1. Click Get Started
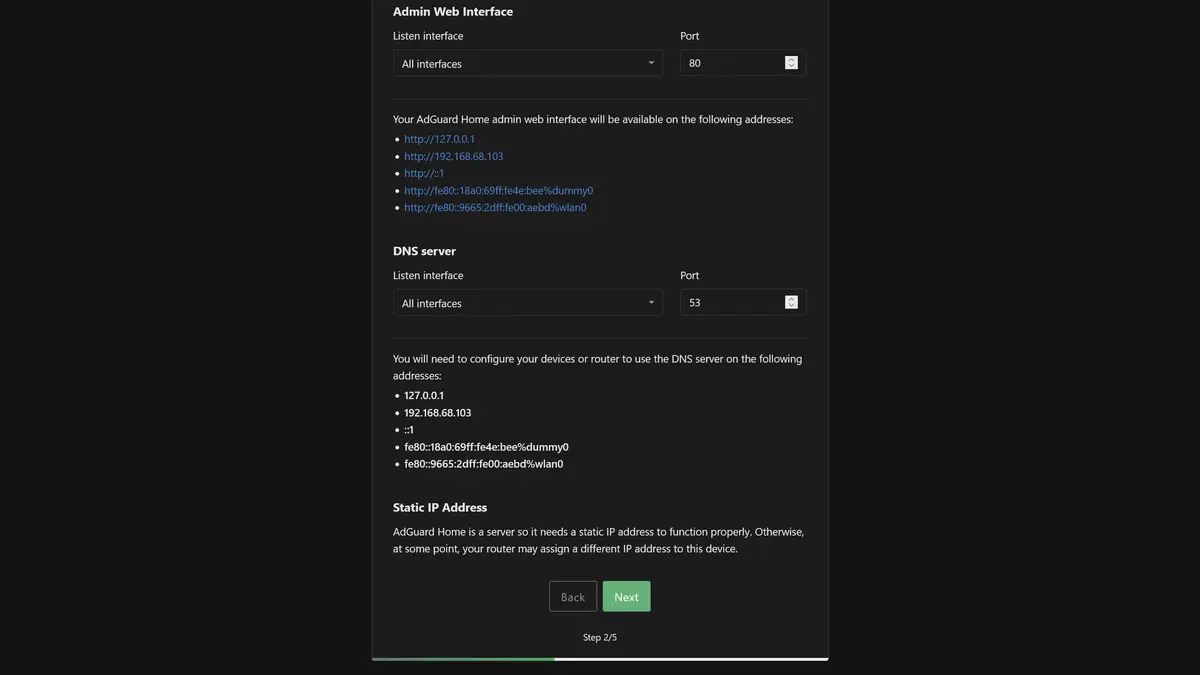
Step 2:
Here you can configure on which port AdGuard will run its UI for you to configure it after installation, by default it uses port 80, I highly recommend changing it.
Next, you’ll have the option to change the port on which your DNS server runs after installation. By default, it uses port 53, and I recommend keeping it as is.
Step 3:
Setup your admin credentials to manage AdGuard
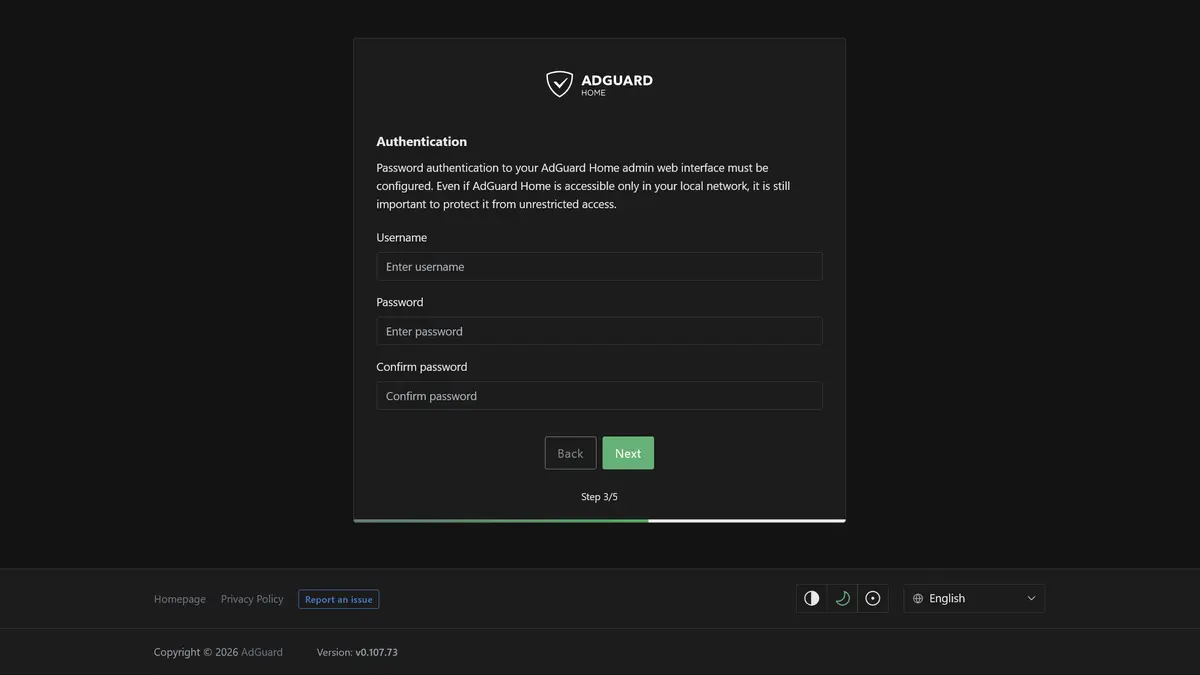
continue through the steps to finish setting up.
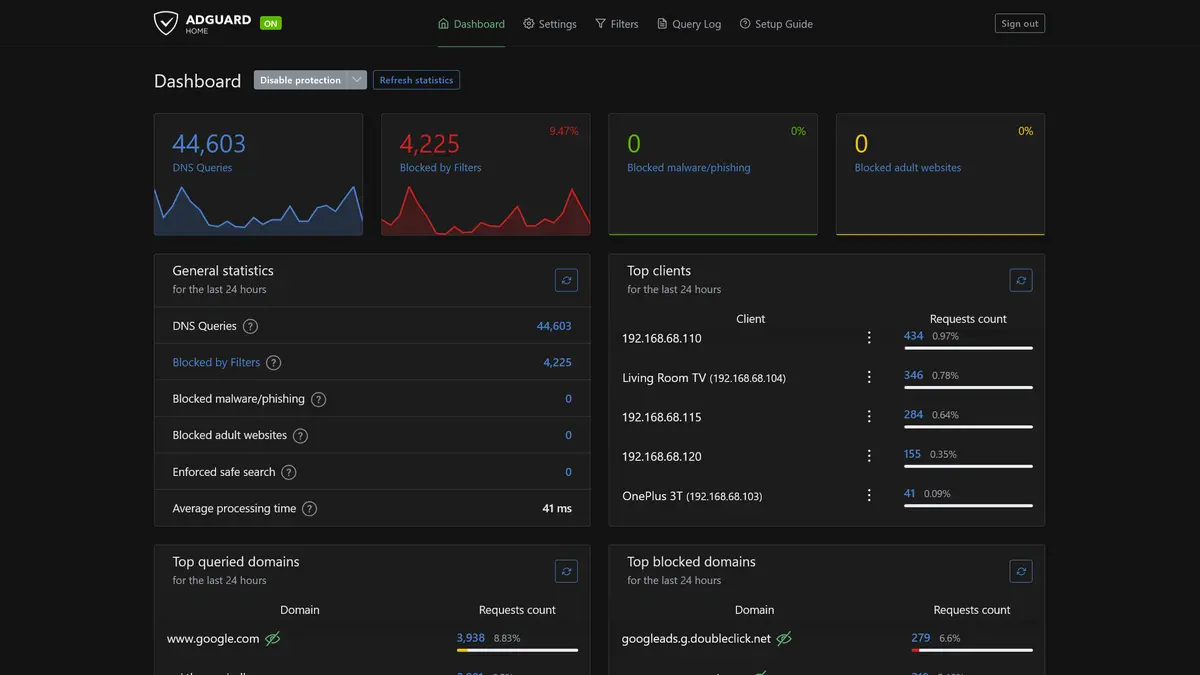
After completing all the steps, you can access the admin interface at the port you configured in step 2.
When you arrive at the admin page, it may appear empty because you still need to configure your devices to use AdGuard.
You can add the filters by going to Filters > DNS blocklists from the top nav-bar.
While keeping the screenshot of the dashboard as a visual reference, having the actual text-based URLs is critical to easily copy-paste them. Here are the best recommended AdGuard Home blocklists for 2026:
Best AdGuard Home Blocklists (2026)
| Filter List Name | Target/Type | Description & Strengths | Recommended |
|---|---|---|---|
| AdGuard DNS Filter | Ads & Trackers | The official AdGuard list. Blocks common ads, trackers, and analytical scripts with regular updates. | Yes (Core) |
| AdGuard DNS Popup Hosts filter | Pop-ups | Blocks pop-up ads and notification requests from websites. | Optional |
| Peter Lowe’s Blocklist | High-performance Ads | A massive, well-maintained community list. Highly optimized to block ads while minimizing website breakages. | Yes (Family-Friendly) |
| Phishing URL Blocklist (PhishTank and OpenPhish) | Phishing | Blocklist of phishing websites, based on PhishTank and OpenPhish lists | Yes (Security) |

Using AdGuard with your devices
The most optimal way to install AdGuard is to configure it at the Router level.
Head over to the Setup Guide page on your AdGuard admin interface and you can find the details and steps to set it up on different devices.
Before setting it up on your router, I recommend configuring it only on your system first. This ensures you won’t lose internet access if something goes wrong, and make adjustments as needed..
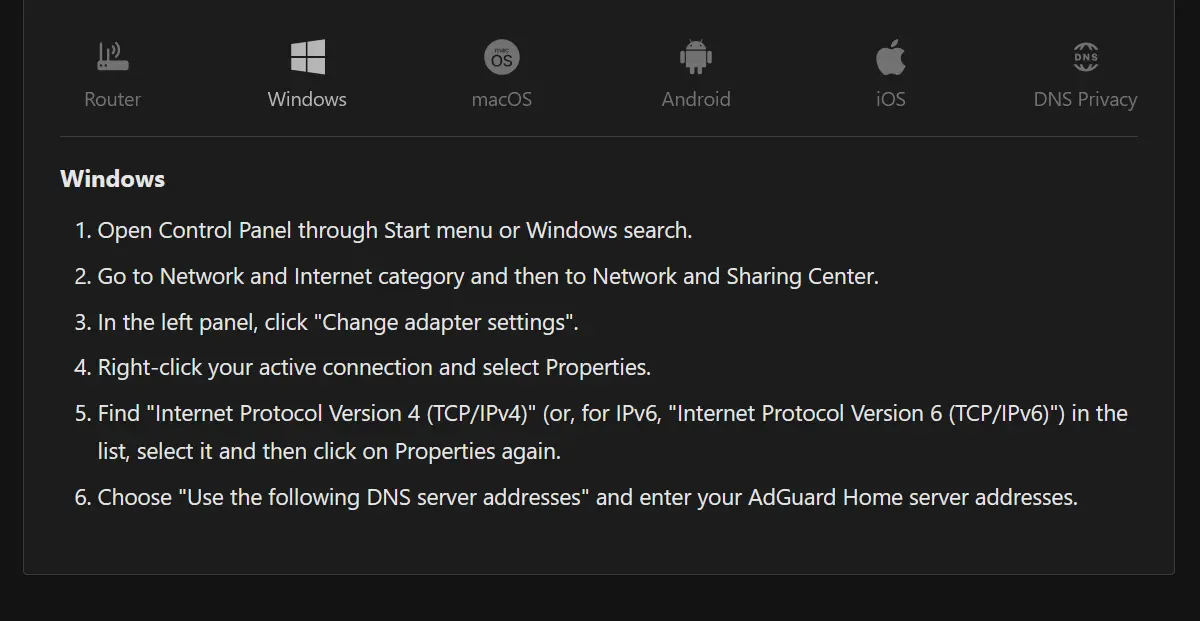
Example for windows systems, you can follow these steps:
Once, you have verified it on a single device, and you can see traffic flowing into your AdGuard instance i.e,. you see DNS Queries showing up on your AdGuard interface, You can go ahead and configure it at the router level.
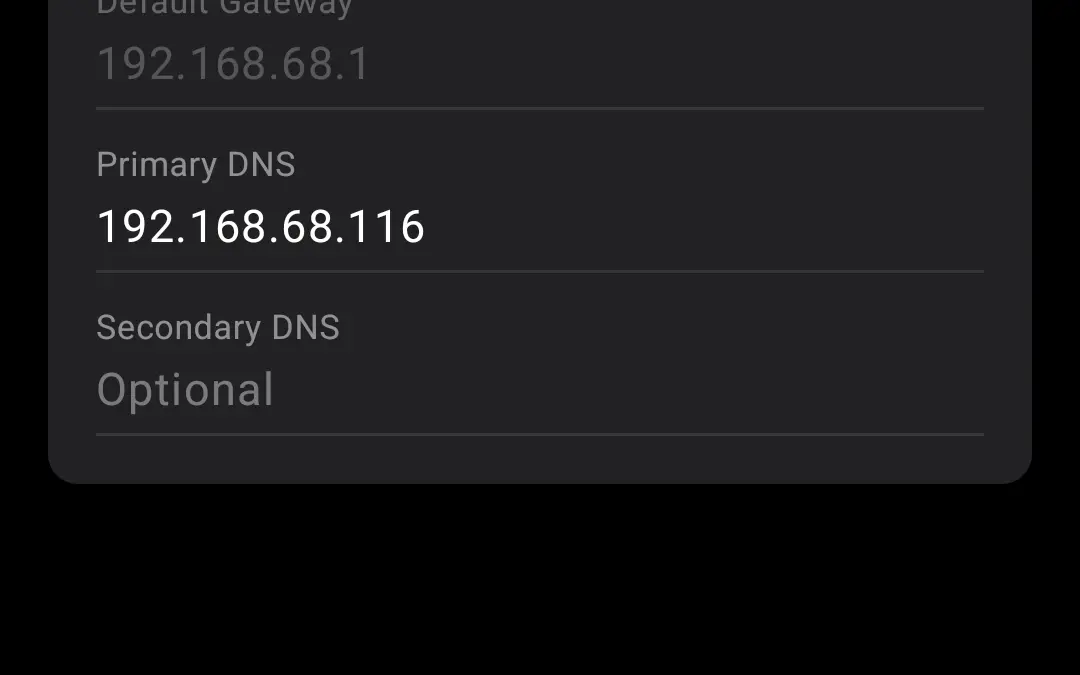
In your router’s admin panel, locate the DHCP settings and enter the IP address where your AdGuard is running in the DNS field. You can find this IP on the Setup Guide page; it will resemble something like 192.168.xx.xxx.
Once you’ve configured it at the router level, all devices connected to your home network will have AdGuard enabled.
Bonus
In addition to blocking ads and trackers, AdGuard offers the added benefit of enabling content blocking across your entire home network.
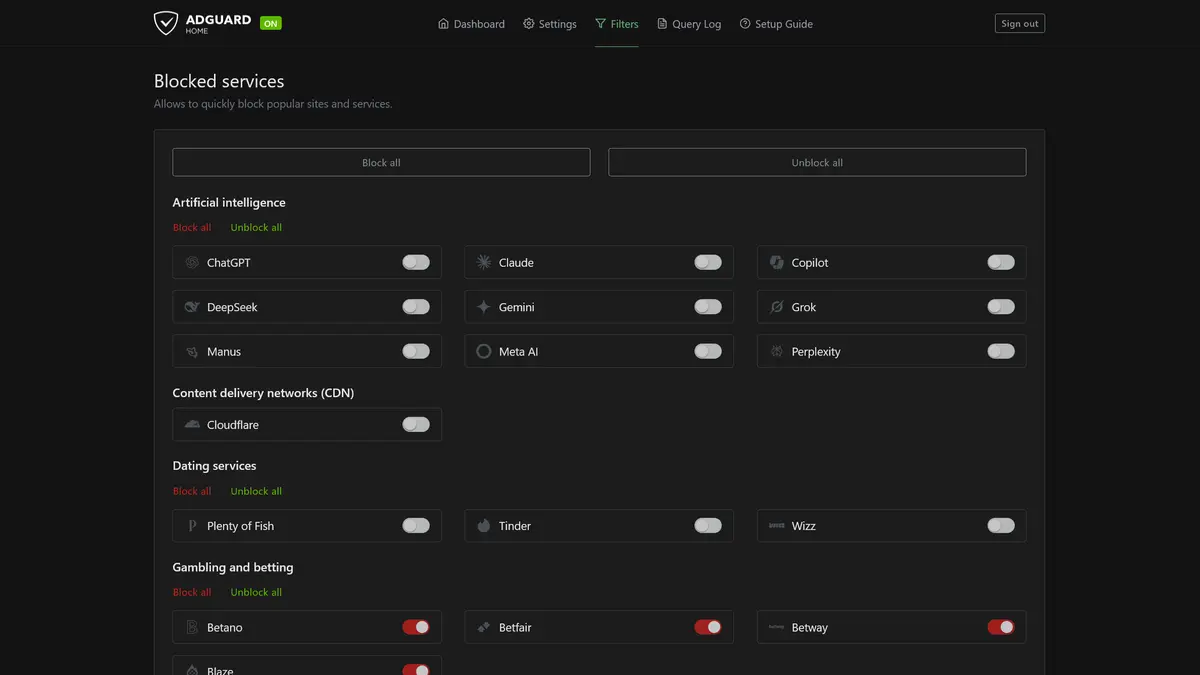
It offers an easy-to-use method to block services you want to restrict, such as adult content and gambling.
You can take it a step further by blocking services for specific time periods. For example, you can restrict access to YouTube for your kids outside designated hours, ensuring effective parental control.
Conclusion
AdGuard Home gives you a simple, network-wide way to reclaim privacy, reduce intrusive ads, and add a layer of protection against malicious domains — all without installing browser extensions on every device. Once installed on a small always-on machine (Raspberry Pi, home server, or VPS), it works silently for every device that uses your network DNS, making it ideal for non-technical family members.
To finish your setup: point devices or your router to AdGuard Home as the DNS, enable the appropriate blocklists and filters, whitelist sites you trust, and secure the web UI with a strong password (or VPN). Regularly update filter lists and back up your configuration. Monitor logs briefly after deployment to catch any false positives and adjust rules as needed.
AdGuard Home is low-maintenance but powerful — a practical step toward a cleaner, safer browsing experience for everyone on your network.
💬 Frequently Asked Questions (FAQ)
What are the best AdGuard Home blocklists to use in 2026?
The best combination of blocklists for AdGuard Home includes AdGuard DNS Filter (for general ads), OISD Basic (excellent for families as it has near-zero false positives and won’t break normal websites), and Steven Black’s Hosts (for dedicated malware and tracker security).
Can AdGuard Home block YouTube ads?
No, DNS blockers like AdGuard Home cannot block YouTube ads. This is because YouTube serves video ads from the same domain names as the actual video content. Blocking the ad domains would block the videos. For YouTube, use browser-level extensions like uBlock Origin or alternative clients.
How do I configure AdGuard Home at the router level?
To enable network-wide blocking, log into your Wi-Fi router’s admin panel, locate the DHCP/DNS settings, and replace your ISP’s default DNS servers with the private local IP address of your AdGuard Home machine (e.g. 192.168.1.150).