
If you’re anything like me, you must also have 10s of Gigabytes of photos or videos, and with the smartphones cameras getting better and better, we have started capturing more memories then we used to before.
But saving and viewing these memories has started to become costly, and with every tech giant racing to feed our data into AI models., these private memories of ours are also being used to train these new AI models.
I wanted to figure out how could I make these memories of mine more accessible, and actually be able to see them again with ease.
Earlier I used to manually copy and backup my photos to an external backup storage but recently I had my phone die on me which meant I lost all my recent photographs, so It was really important if I could make this backup automatic.
The 2TB plan on Google Photos is going to set you back 100$/yr, while the same on iCloud will cost you 132$/yr. But lets be real, how often do we really access these photos, so while having the ability to access them is important, you could optimize how you pay for it all.
The Best Google Photos Alternatives in 2026
There are a couple of high-quality Open Source options that I came across, including Ente Photos and Immich.
I decided to go ahead with Immich due to its extremely polished web and mobile interface, rapid update cycle, and very strong positive sentiment across self-hosting communities (especially on Reddit). Here is how Immich stacks up against Google Photos in 2026:
Immich vs. Google Photos: 2026 Comparison
| Metric / Feature | Google Photos | Immich (Self-Hosted) |
|---|---|---|
| Pricing / Cost | $100/yr (2TB Plan) or $132/yr (iCloud) | $0 (Free, open-source under AGPL-3.0) |
| Data Ownership | Proprietary cloud storage (subject to AI training) | 100% Private (Runs on your home server/hardware) |
| Facial Recognition | Automated (Google servers) | Local Machine Learning (Runs locally via ONNX/CPU/GPU) |
| Smart Search | CLIP-based Semantic Search | Local CLIP Model (Natural language text-to-image matching) |
| Metadata & Exif | Preserved but difficult to bulk-export | Original Files Preserved (Automatic database mapping) |
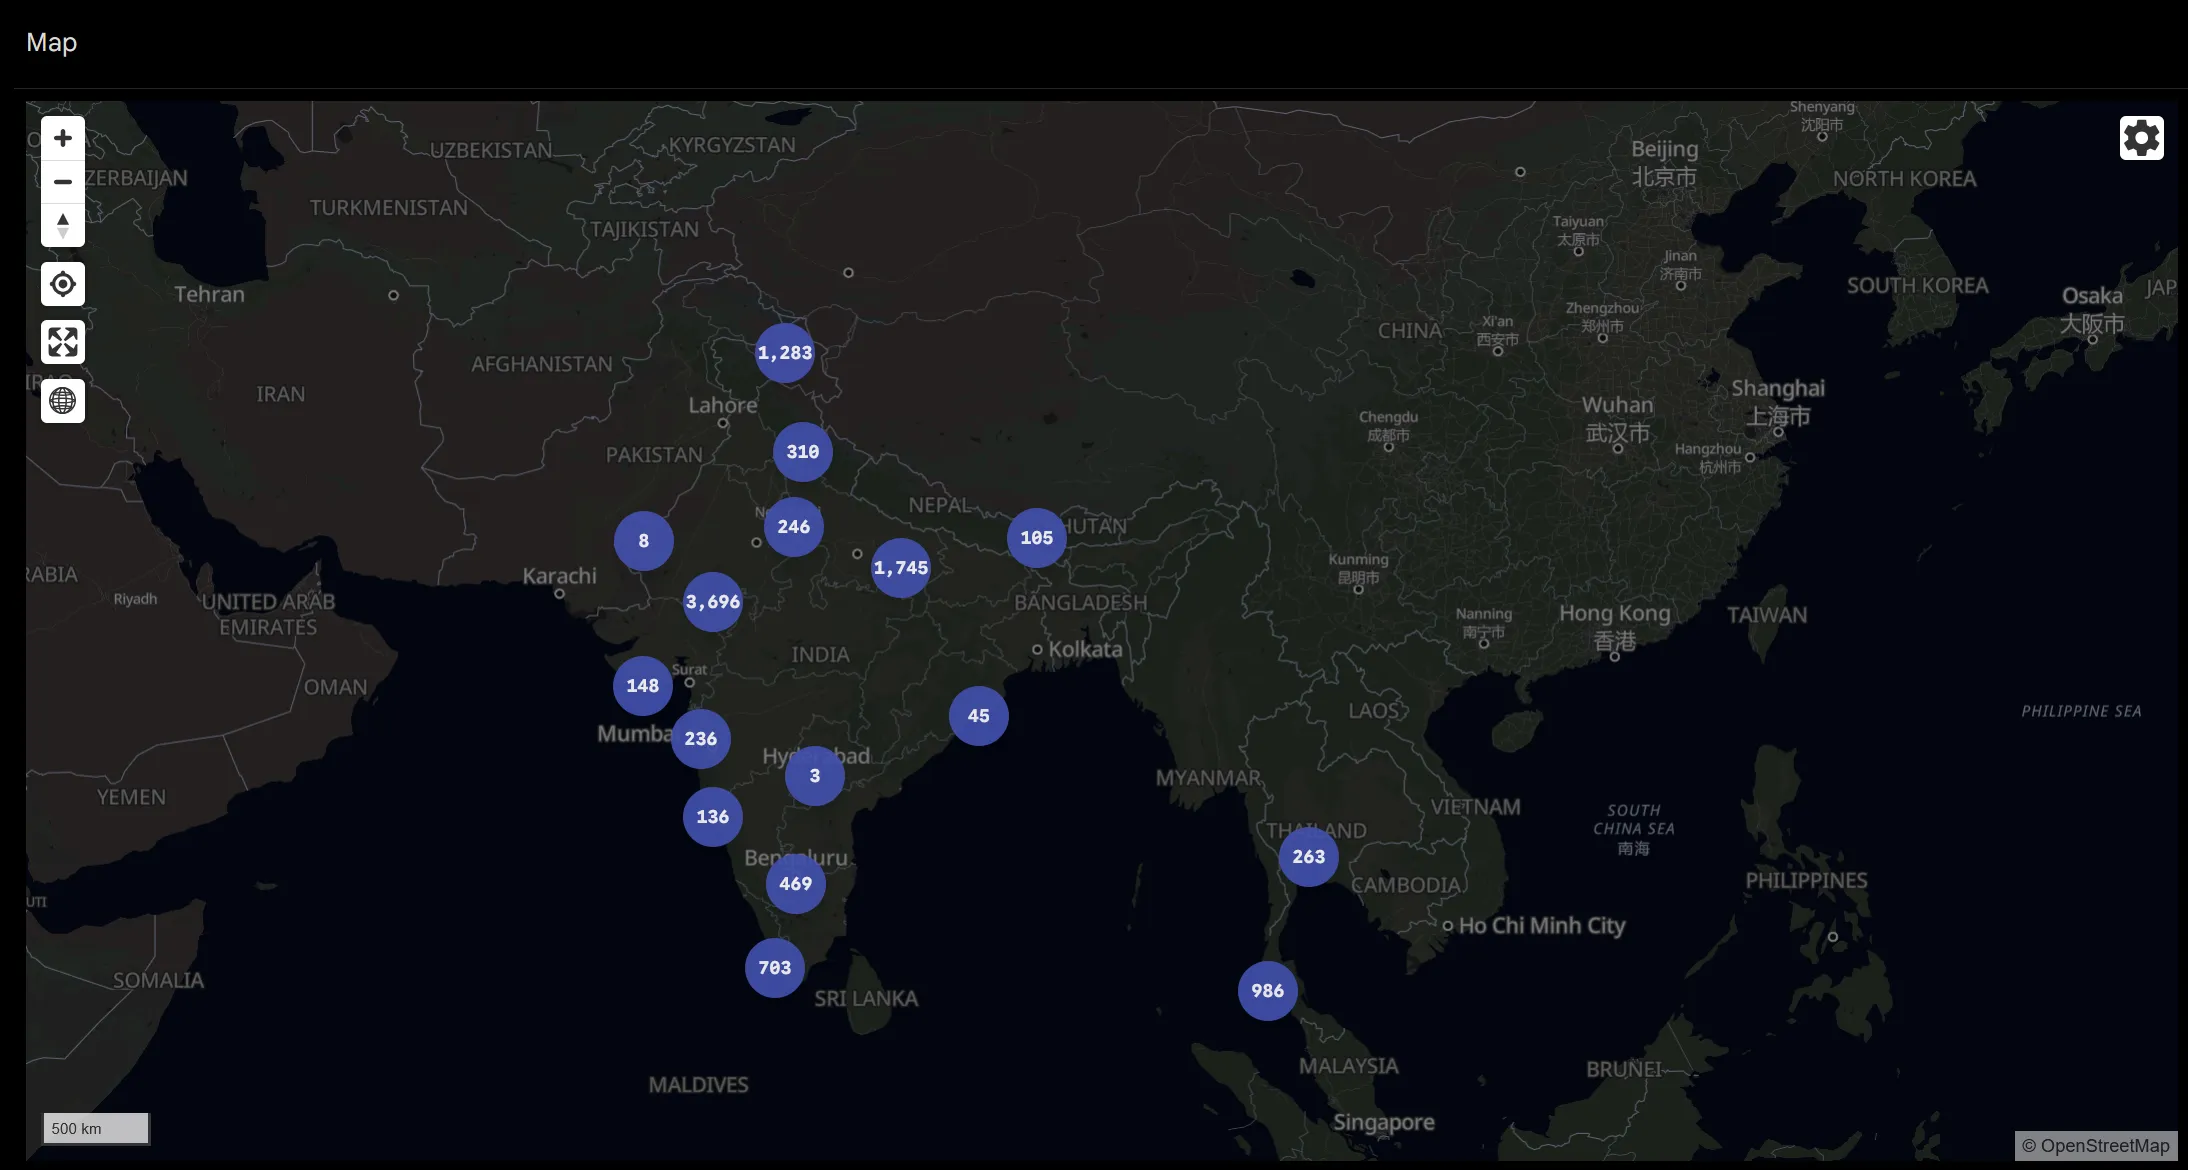
| Geographic Mapping | Map view of photos | Interactive Map Marker View (100% local geolocation) |
Self-Host Immich

Self-hosted photo and video management solution
Features of Immich
Immich has pretty much all the feature you can think of
Face Detection
Searching based on text/tags
Location Mapping (one of my favorites ❤️🔥)
and a lot more…
Setting up Immich is quite straightforward, we can set it up using multiple strategies, in this guide I’ll be using docker, as that allows us to fresh-start in case we mess anything up.
Getting things ready
Docker & Compose
Follow the steps on https://docs.docker.com/get-started/get-docker/ to install docker and docker compose.
Because we are using docker, the setup is identical across all operating systems..
Setting things up
The Immich documentation is an excellent starting point, offering a straightforward, step-by-step guide.
Follow the steps here: https://docs.immich.app/install/docker-compose
⚠️
While you can have Immich store the photos library on either SSD or HDD, make sure you setup Immich and most importantly the database Immich uses on a SSD, this ensures everything stays snappy.
BUT If you do install Immich database on a HDD make sure to set the environment variable
DB_STORAGE_TYPEwith the appropriate value https://docs.immich.app/install/environment-variables#database
Once you have completed all the steps you will have your personal Google Photos alternative i.e., Immich running on http://<machine-ip-address>:2283 / http://localhost:2283
Adding your existing albums
Mounting the directories
While Immich is meant for doing backup from your devices, It doesn’t mean you need to upload your photos manually for loading them into Immich. If you already have your photos and memories in a folder you can point them into Immich and it would load them for you.
Here’s an example of the docker-compose.yml file that I use:
services:
  immich_server:
    container_name: immich_server
    image: ghcr.io/immich-app/immich-server:${IMMICH_VERSION:-release}
    ......
    volumes:
      .......
      # Modify below to change external albums path
      - /media/PhotosStorage:/mnt/media/og-photo-albums:ro # Change this to your media storage location
      ######
    .....
    restart: always
In the above compose file I use :ro to make my external albums location mount in read-only mode, You can change it to :rw to have it in read-write mode which will allow Immich to also delete and edit files.
Once you have added these folders into your docker-compose file, you need to restart your Immich instance,
You can do so by running the below command in the folder you have your Immich’s docker-compose file.
docker compose up -dAfter restart you can monitor the logs by running the command docker compose logs in the same folder, to see if the Immich service has restarted successfully or not after adding your external photo albums.
Updating Immich to read external Albums
Now to make sure Immich loads these photos and show it in the UI. You need to configure it in the Admin setting.
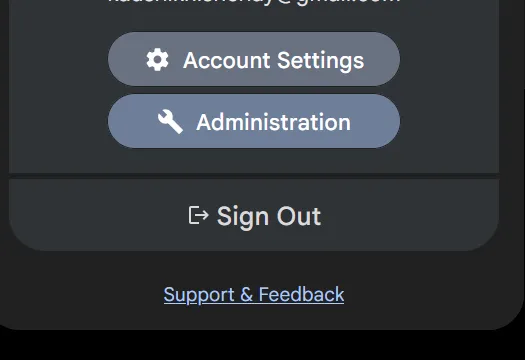
Head over to your Immich instance, then from the Settings > Administration > External Libraries
Click on Create Library

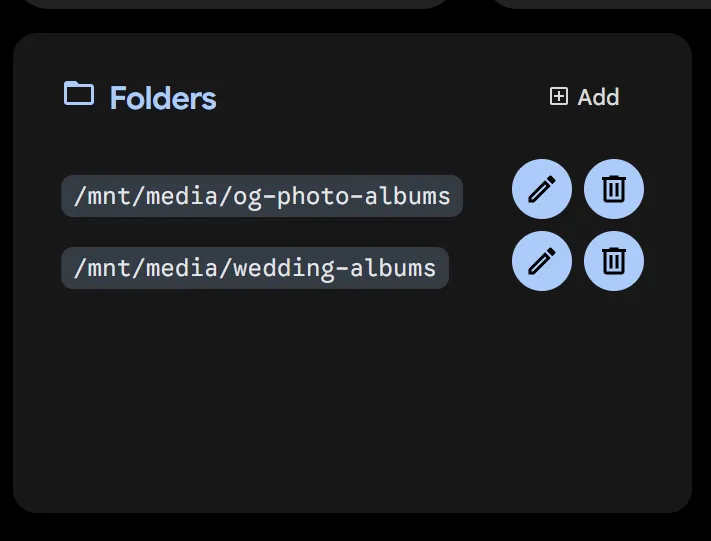
On newly created External Library Click on + Add button to add your external albums
The path you add here is from your docker compose file which you previously added.
Example:
- /media/PhotosStorage:/mnt/media/og-photo-albumsInsert the path value you see on the right side of the : i.e, in this case it would be /mnt/media/og-photo-albums
Triggering Jobs
Once you have added your external album, you can hit Scan to have Immich read all your photos and videos.
You can also manually trigger the jobs to generate thumbnails, doing duplicate detection, face detection etc by going to the Job Queues page
When you run it for the first time these jobs might take time depending upon the size and number of file in your folder, so be patient and let it run through.
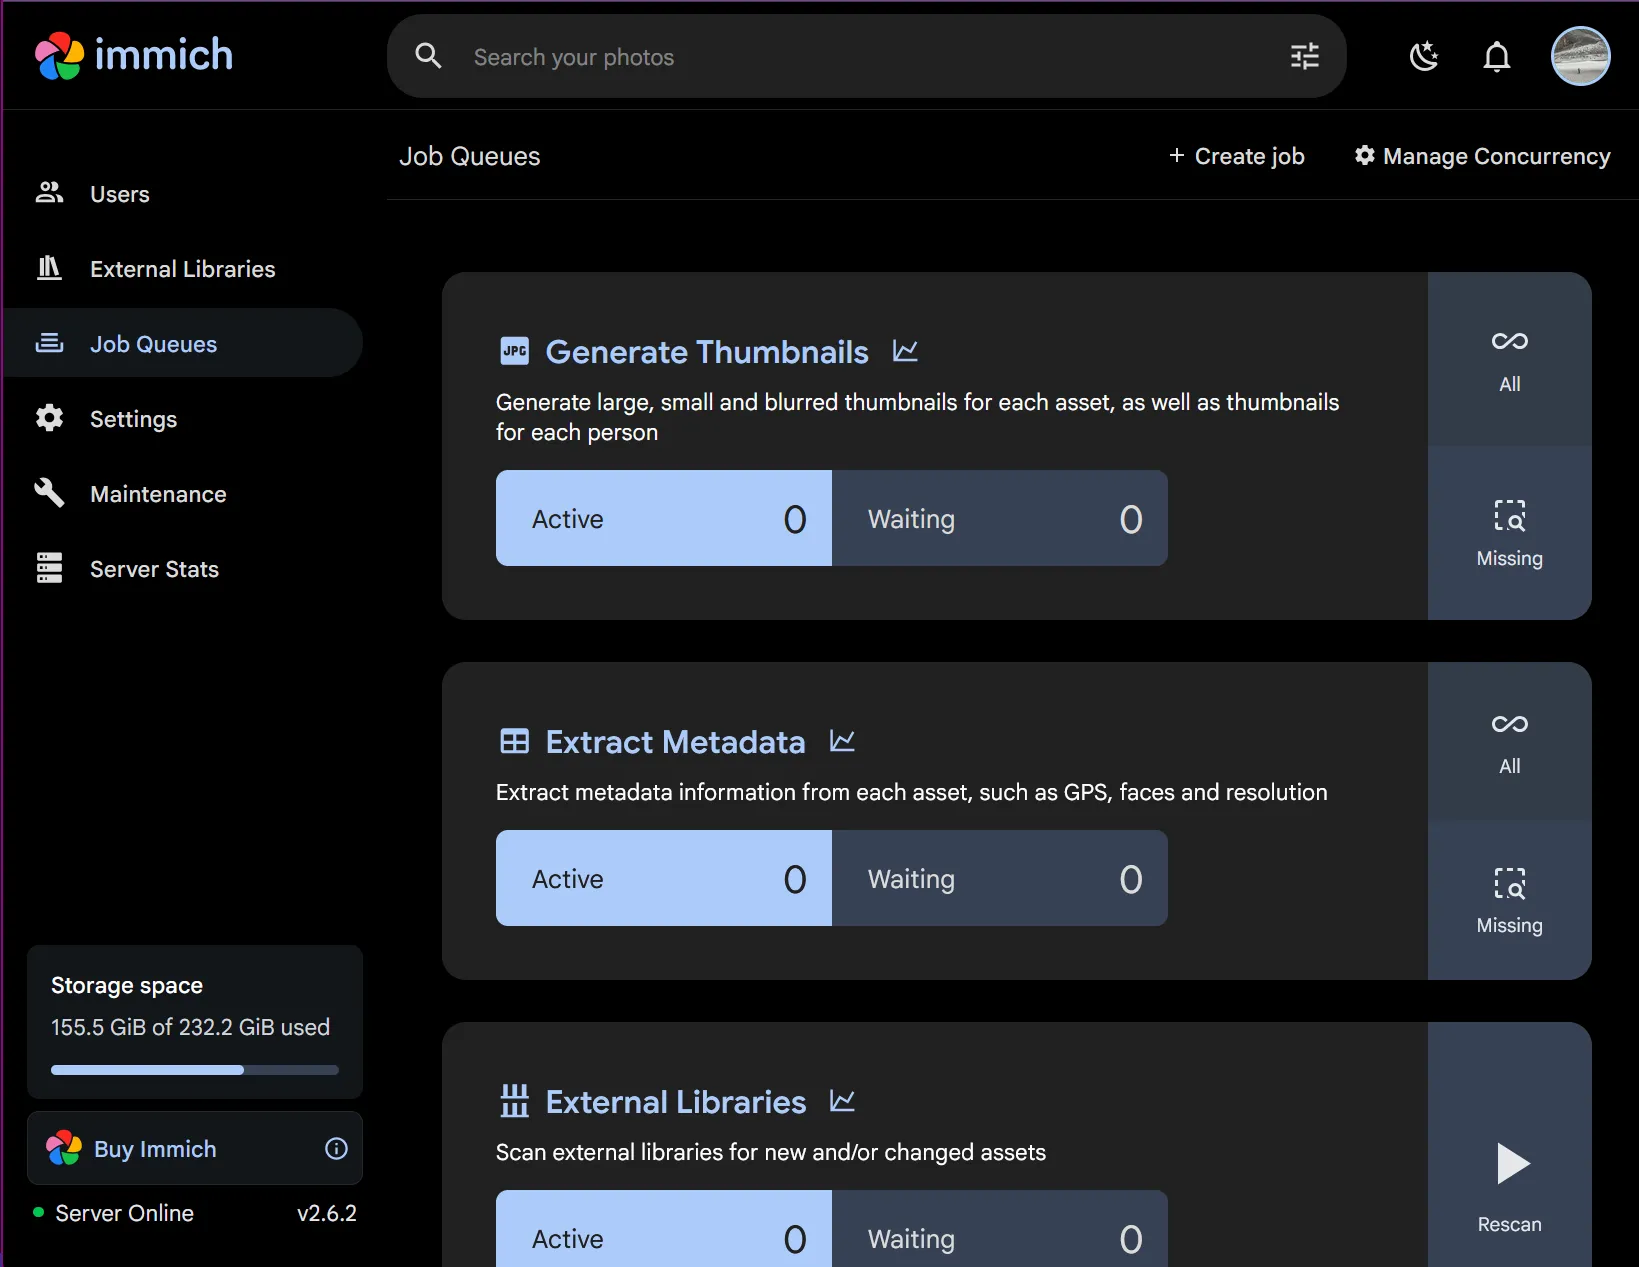
You can check the status of what jobs are running and how much work is pending on the same page.
Once everything has finished, your external album is ready to use 🎉
Making it Public and Secure
To truly have Immich as a backup option, it is important that we can access it outside our home and make it public so that we can also do backups.
There are 2 ways to go about it:
Cloudflare Tunnel
Tailscale
Both of these methods have their own benefits and downsides, let me quickly cover those;
Cloudflare
You must own a domain
100MB Limits on file uploads under free plan (problem for videos)
Anyone can access without creating Cloudflare account
Tailscale
No domain required
VPN required to be connected always
Need to invite users to Tailscale to access Immich
No file upload limits
Depending upon which one you prefer you can follow either of these setup:
Cloudflare setup
Create a Cloudflare tunnel https://developers.cloudflare.com/cloudflare-one/networks/connectors/cloudflare-tunnel/get-started/
In the “Publish an application” step you would publish Immich which is running on
localhost:2283Once your tunnel is up, you can now access your Immich over the subdomain you created. eg.,
immich.domain.comOpen the above URL to verify if your Immich is running and is accessible and you land on the login page.
If you are able to access Immich, you can now use this URL in the Immich app.
Next, We can now also make this a bit more secure, such that not everyone can access even the login page of Immich, this would prevent unauthorized access to your Immich instance.
To do that, we will setup “Access Control”
Head over to https://developers.cloudflare.com/cloudflare-one/access-controls/applications/http-apps/self-hosted-public-app/ and setup a new application, while setting up the policies you can even control who can access this application of yours and filter based on the emails. When you setup the application now when you access the URL it would land on this type of login page.
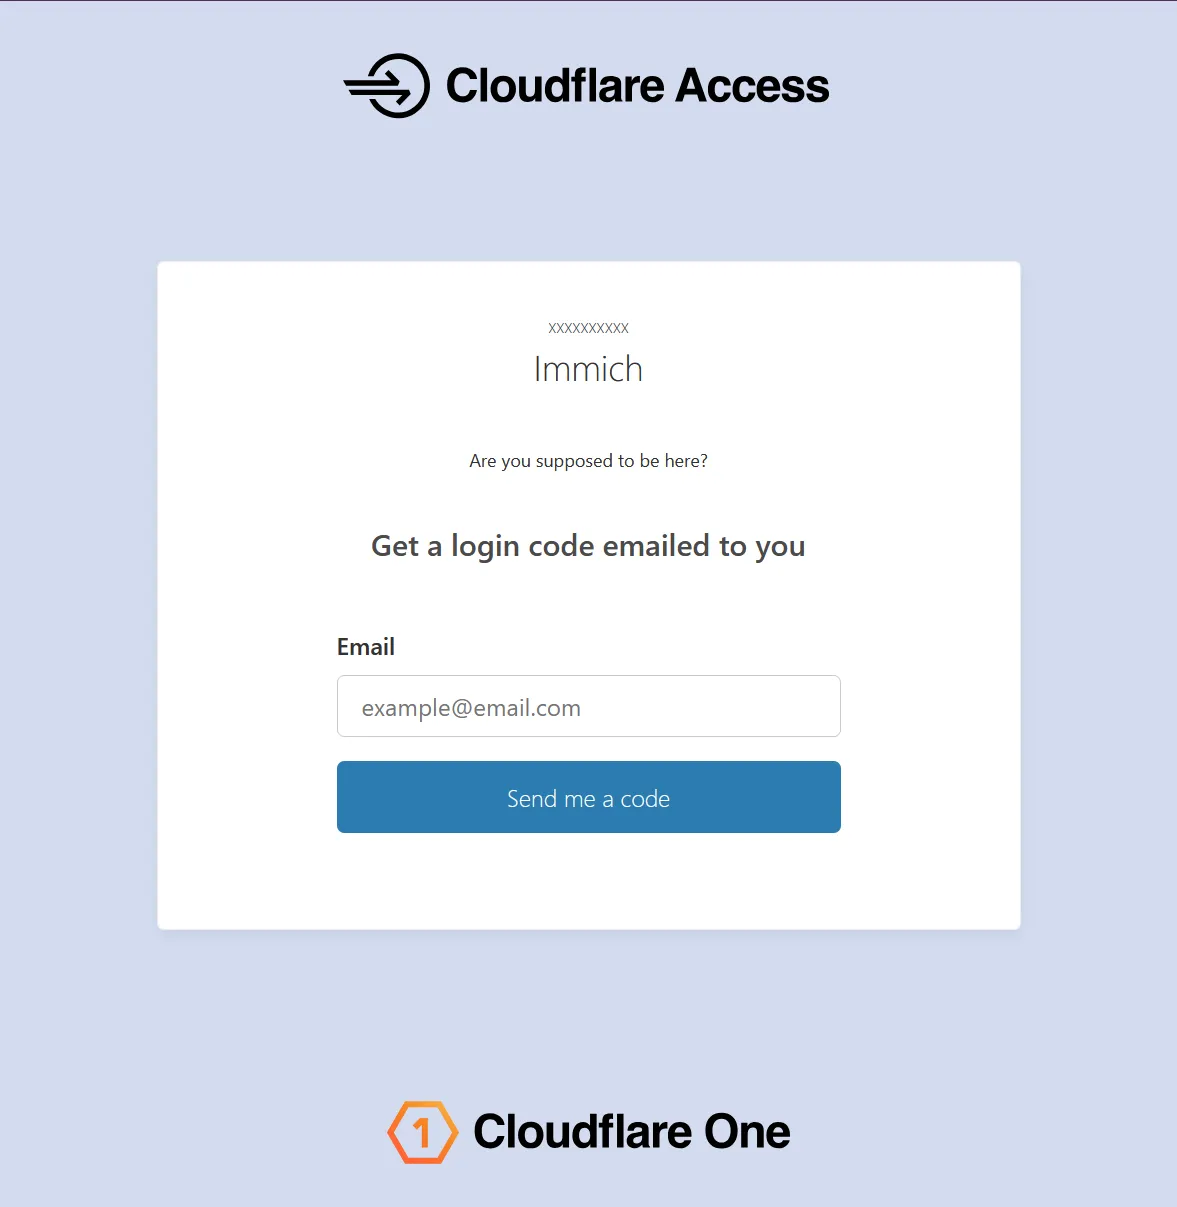
Anyone can enter their email and request the code to get access, you can limit the emails that can do so, essentially blocking anyone else from even getting access.
Now, once we enable access control, it would prevent the Immich app from opening the URL.
To solve for it, we would add another “Policy” to the app called “Service Auth” which would be used in Immich app.
Follow the step on https://developers.cloudflare.com/cloudflare-one/access-controls/service-credentials/service-tokens/ and create a new Service Token.
You should now have two values, keep them safe and save it securely.
CF-Access-Client-Id: <CLIENT_ID>

CF-Access-Client-Secret: <CLIENT_SECRET>
Now, go back to your “Application” you created in the previous step and “Policies” tab.
Click “Select existing policies” and pick the newly created “Service Auth”.
Now, your Immich app will have two ways in which users can “access” it 1. Using the 1-time code by providing email, 2. By using the secret headers “CF-Access-Client-Id” and “CF-Access-Client-Secret” (which would be primarily for Immich app)
Now, To configure the Immich app
Go to settings
Advanced
Custom proxy headers
Add the values you saved previously
Now it should look like something below.
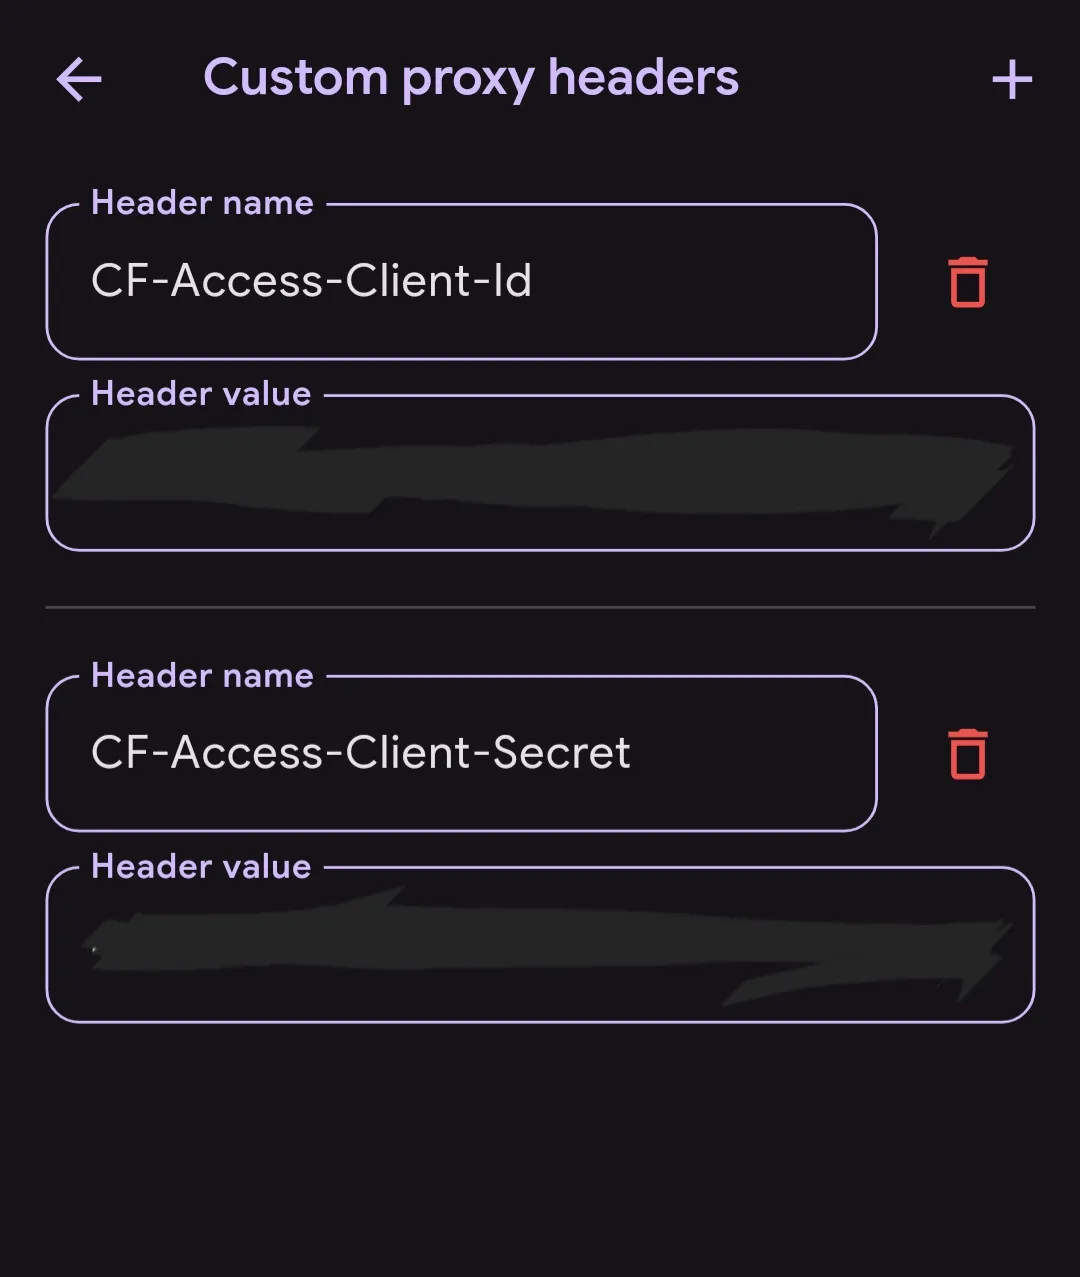
You can now add the URL in your “Networking” section of the Immich app settings.
You should see a green check-mark ✅️ next to it if the app is able to access it.
Congrats your Immich app is now ready. 🎉
Tailscale setup
Go to https://login.tailscale.com/welcome and create a new account
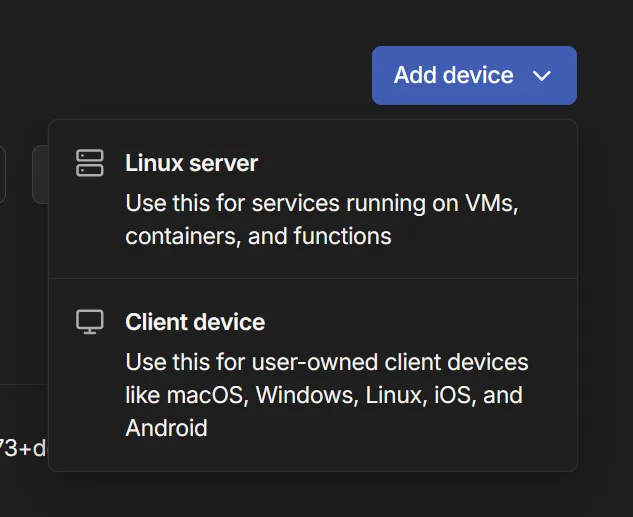
Then “Add device” and install tailscale on your system.
Now your system should show up in the “Machines” tab.
Now go to “Services” tab and “Define a service”
Enter the name of the service and use port as ‘443’
It should look something like this:

After defining the service Tailscale should give you a command to run.
It might look like
tailscale serve --service=svc:immich --https=443 127.0.0.1:2283run it in terminal on your system, and then accept the service on the Services tab in tailscale.
Once you finish this you should see “🟢Online” next to the service name.
Now connect to tailscale VPN using the client and try opening the URL you see next to the service.
You should now be able to access the Immich app over tailscale, remember this URL will only work if you are connected over Tailscale VPN.
You can also add this URL in the Immich app under the “Networking” section in Immich setting.
Once you see the green check-mark ✅ next to your tailscale URL in Immich app, you are done!
Your Immich app is now remotely accessible.🎉
Ending thoughts
Running your own Google Photos alternative like Immich lets you take back control of your memories — cutting recurring cloud costs, improving privacy, and automating backups so you don’t lose recent photos again.
It does require some upfront effort (hosting, storage planning, and occasional maintenance), but the tradeoffs are worth it if you value long-term accessibility and ownership of your data.
Start small: test with a subset of your library, automate uploads from your phone, and keep an offsite or secondary backup for redundancy.
With the active open-source community and clear docs, self-hosting is a practical, cost-effective option for anyone ready to invest a little time for greater control.
💬 Frequently Asked Questions (FAQ)
Is Immich free, and what is the Immich pricing model in 2026?
Yes, Immich is 100% free and open-source under the GNU AGPL-3.0 license. There are no fees or licensing costs to self-host Immich on your own hardware. The project operates primarily on community donations and optional sponsorships to support the developers.
How does Immich compare to Google Photos?
Immich offers a near-identical user interface to Google Photos, including automatic background mobile backups, sharing albums, facial recognition, interactive map views, and multi-user support. The core difference is that Immich runs entirely on your own local server, ensuring absolute privacy and data ownership.
What is the recommended Docker Compose setup for Immich?
The official, recommended method to deploy Immich is via Docker Compose. You download the official docker-compose.yml and .env files from their installation repository, modify the UPLOAD_LOCATION variable to point to your SSD or HDD storage array, and run docker compose up -d.
Can I securely access my self-hosted Immich instance remotely?
Yes. To safely back up and access your photos outside your home, you can configure Tailscale (a secure, private Mesh VPN) or set up a Cloudflare Tunnel with Zero Trust access controls (and service tokens for secure API communication inside the mobile app).
Whats Next?
I am writing about all the various service I have been self-hosting.
Read my other posts on Self-Hosting on:
https://nkaushik.in/writing/series/homelab/
https://nkaushik.in/writing/getting-started-with-self-hosting-in-2026